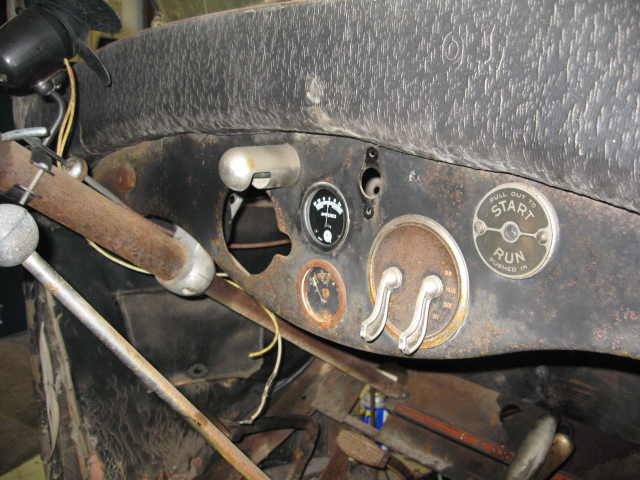
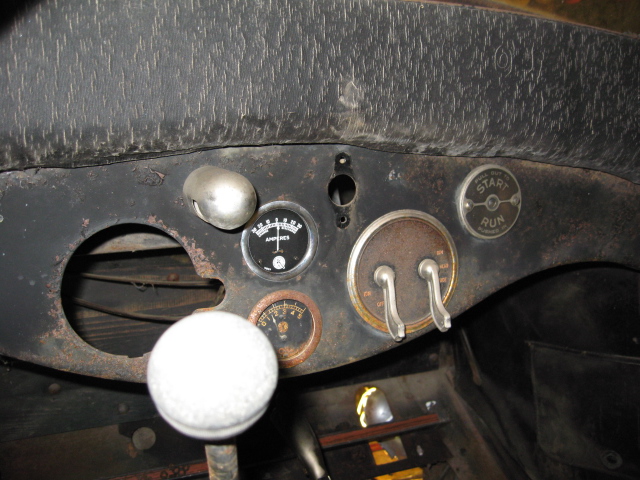
As you can see there are two different dashes in pictures below.
One is out of my older serial numbered parts car.


Page 3.
1925 Hudson Biddle and Smart 7 Passenger.
The Interior and Body Work page.
Back to Page 2 Engine and Mechanical.
Back to Page 1 of Pictures.
Click on any picture for larger version.
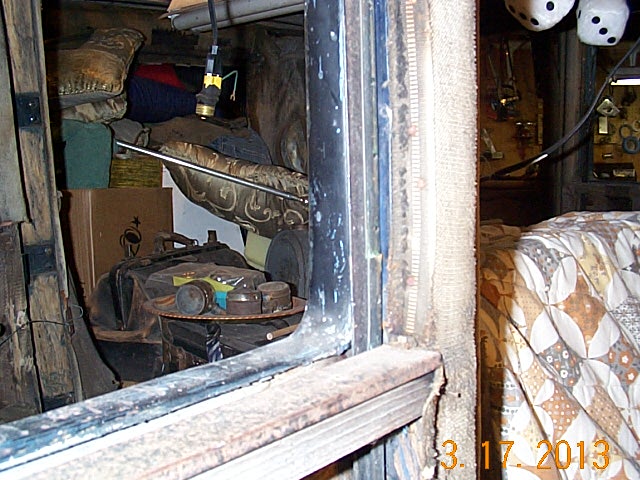
Jump to: Cowl Vent - Floor Boards - Doors and Handles - Windshield - Body Work -
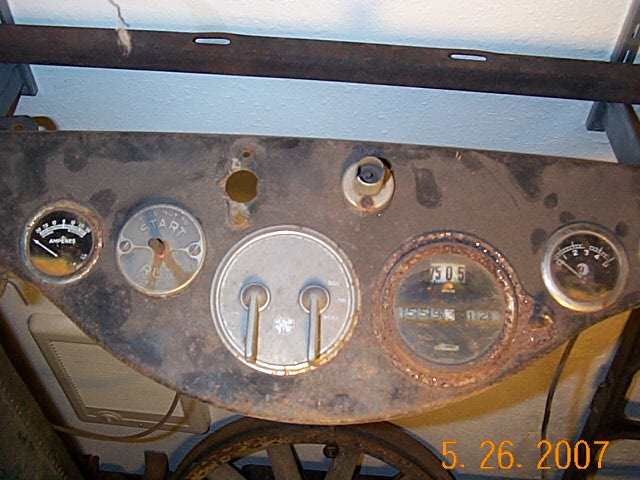
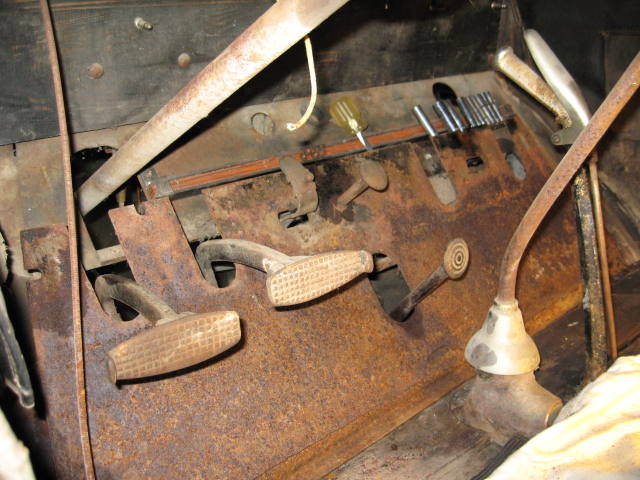
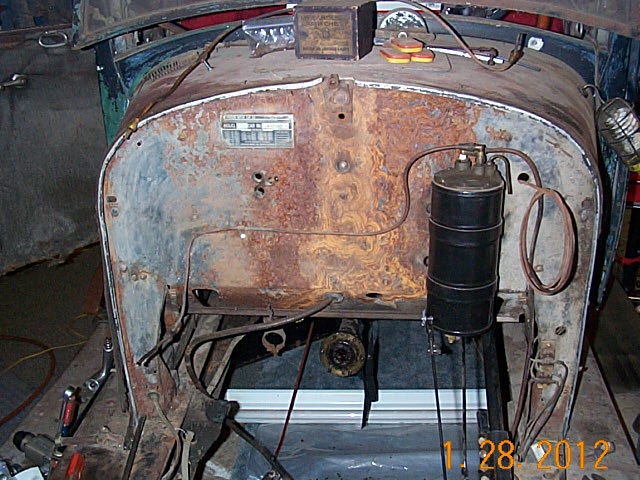
I must really like this simple dash, I have tons of pictures.
As you can see there are two different dashes in pictures below.
One is out of my older serial numbered parts car.
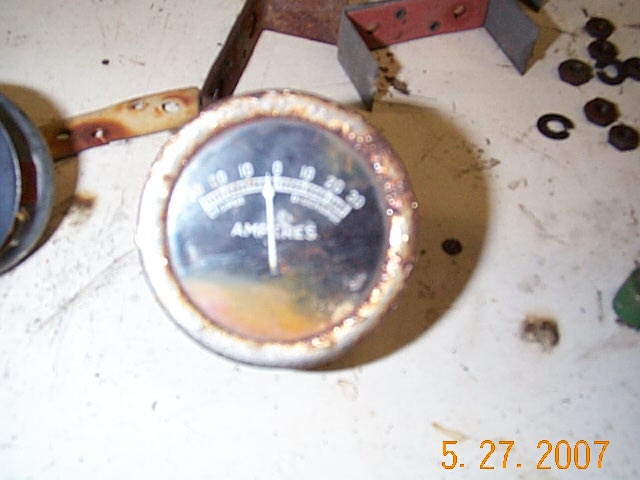
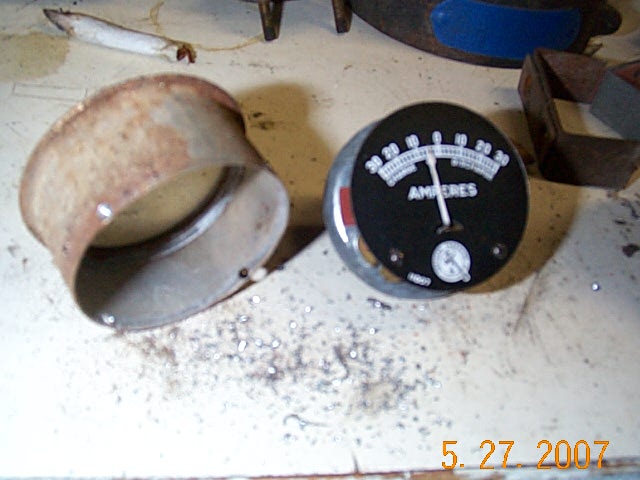
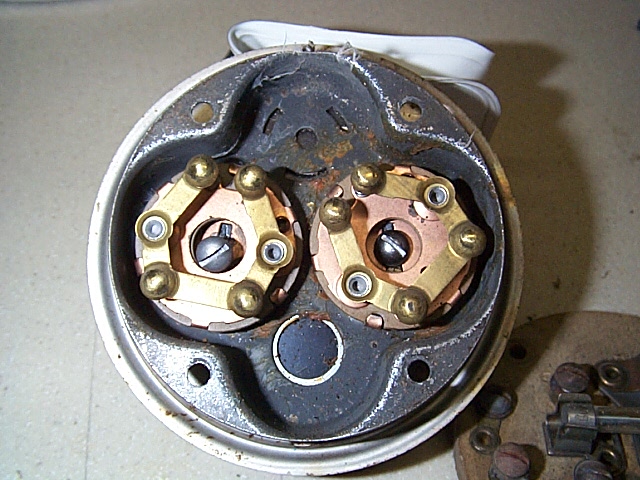
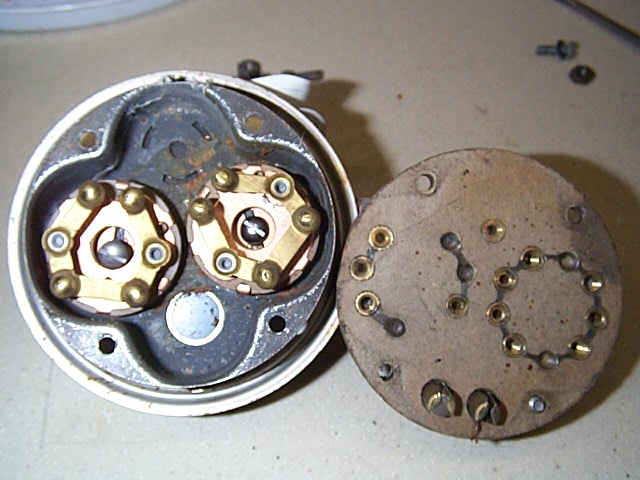
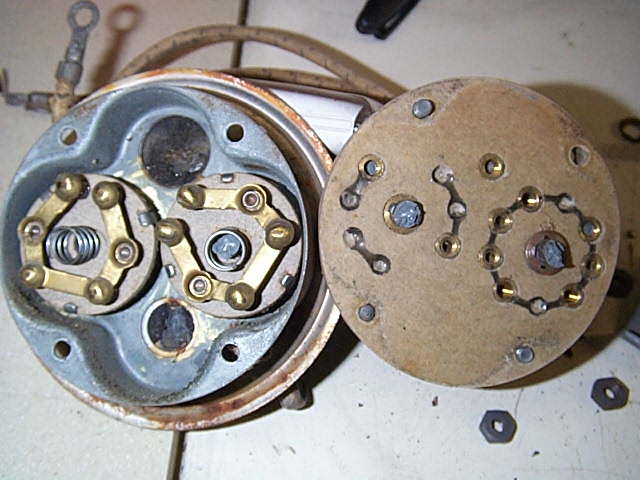
Rebuilding the amp meter. I was asked what the logo says.
Across the top Nation Gauge and EQPT Co, on the bottom, Lacross WIS. There is an Indian Head in the center.
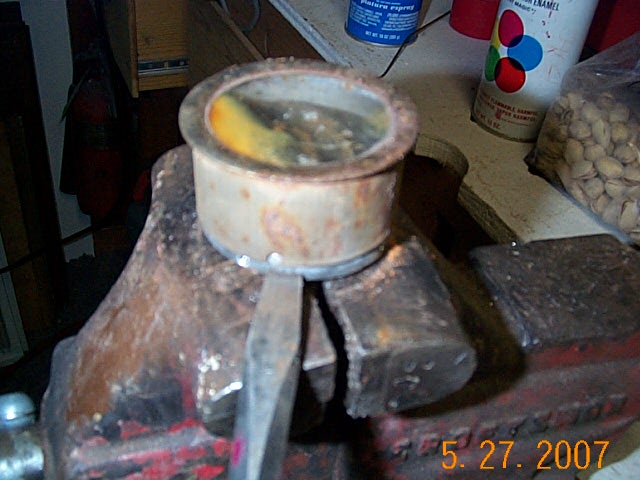
The casing is staked into holes in the gauge body. I drilled out the stakes then pried the housing away from the body.
Then centered the pointer. Cleaned the face, glass, re-assembled and used epoxy to fill the drilled out stakings.

Oil Gauge is next. The logo across the top says, Northern Engraving, bottom: Lacross WIS, has a hatchet in the center.
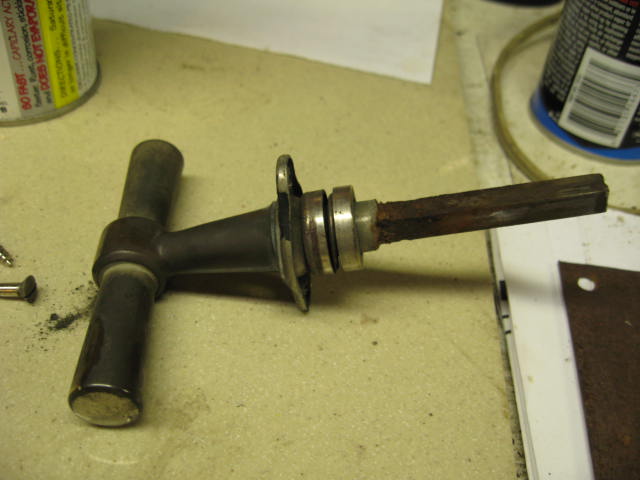
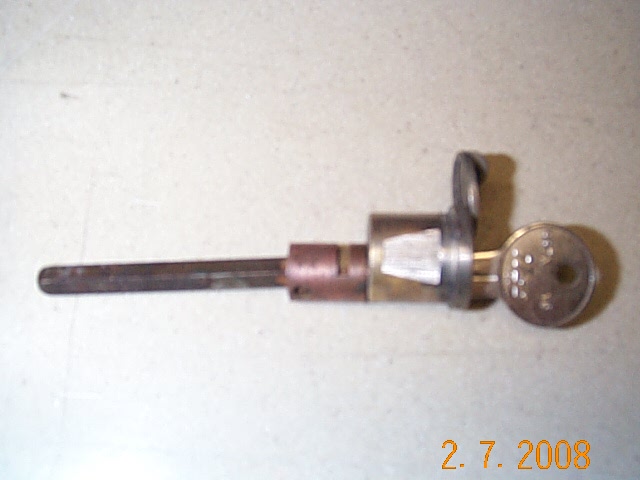
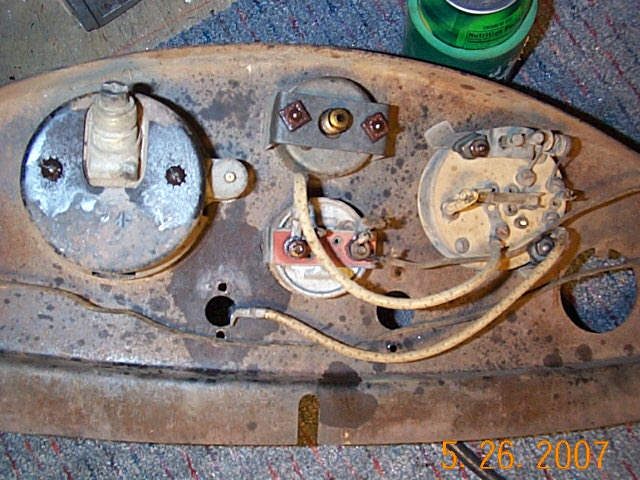
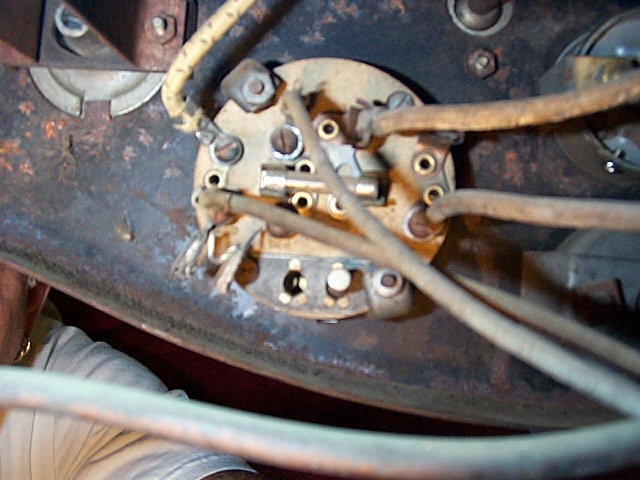
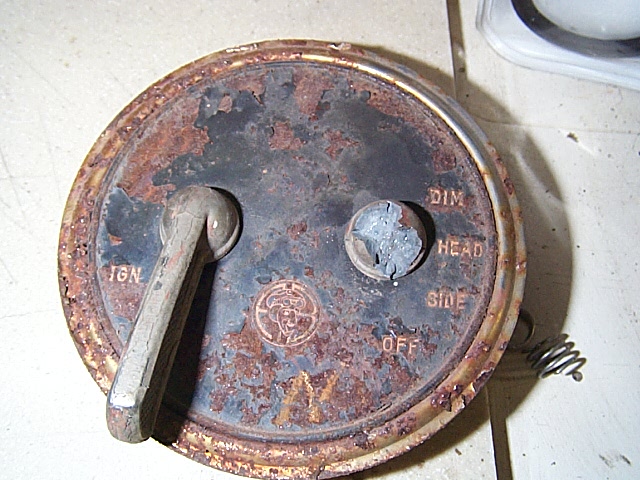
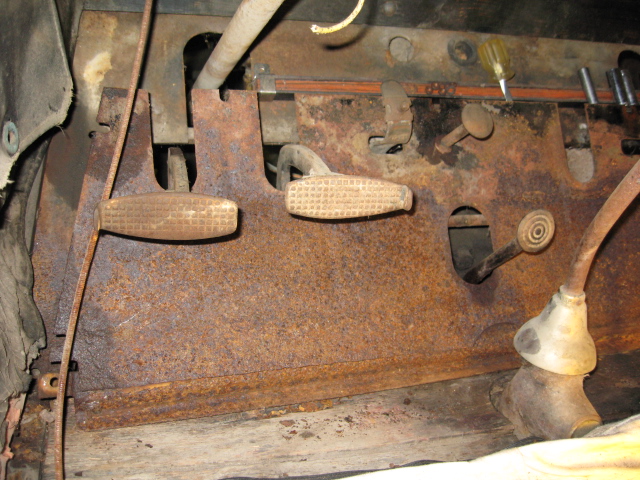
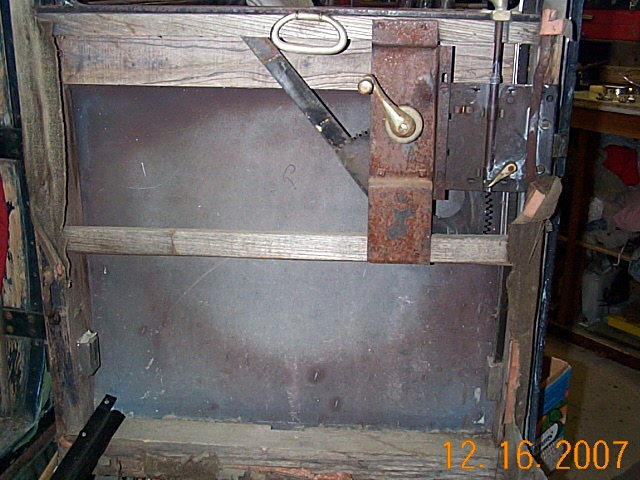
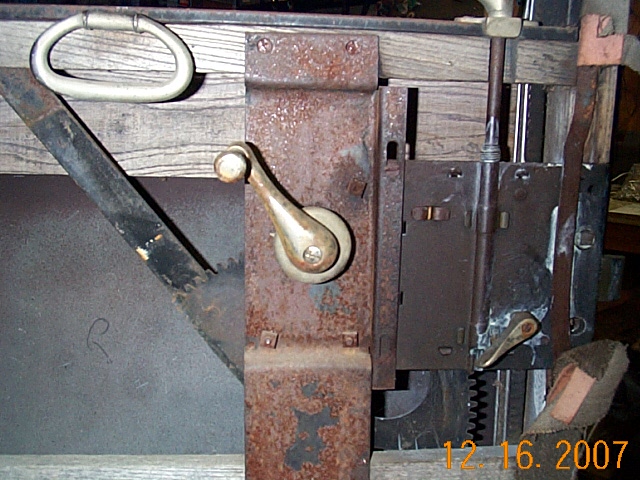
Ignition and light switch.
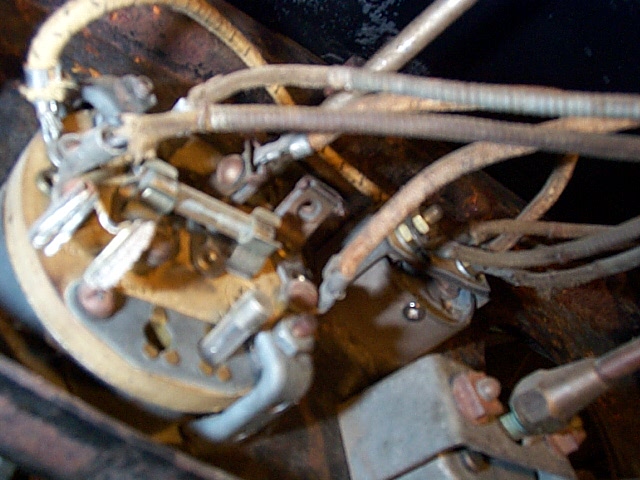
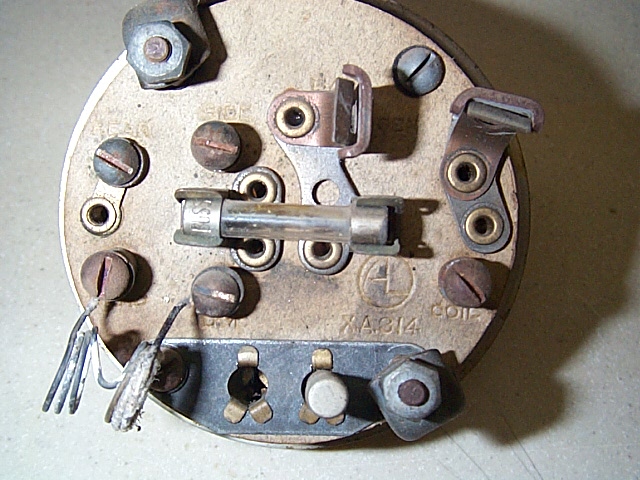
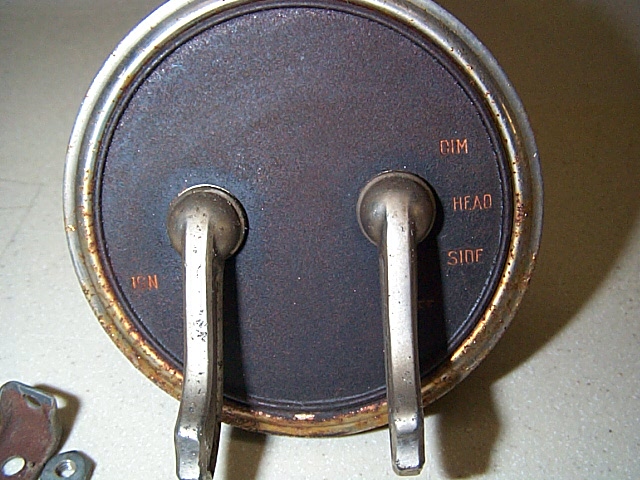

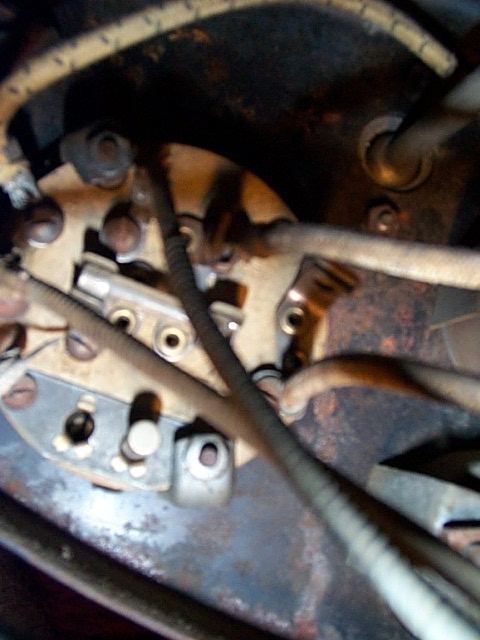
This switch is from the parts car and has different levers. As you can see they go all the way through to the 'cardboard'.
This is where they seize up and then break off. See the broken shafts in the plate.
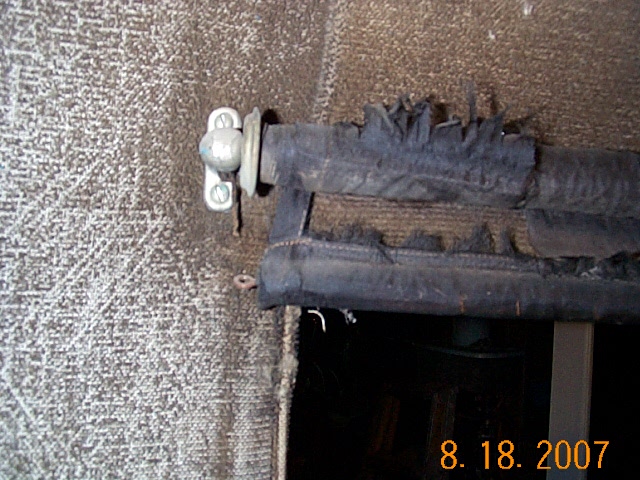
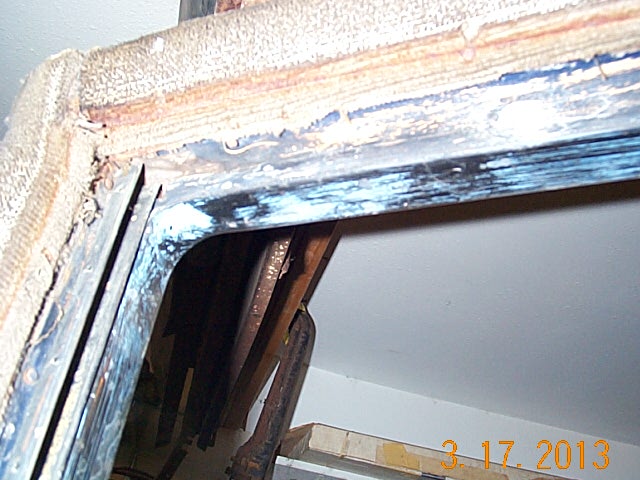
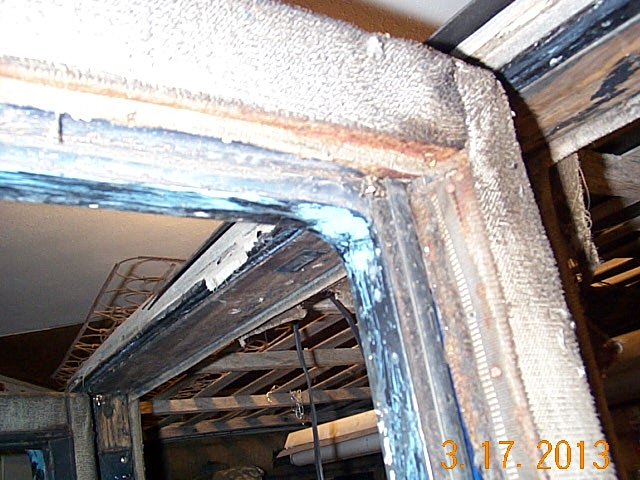
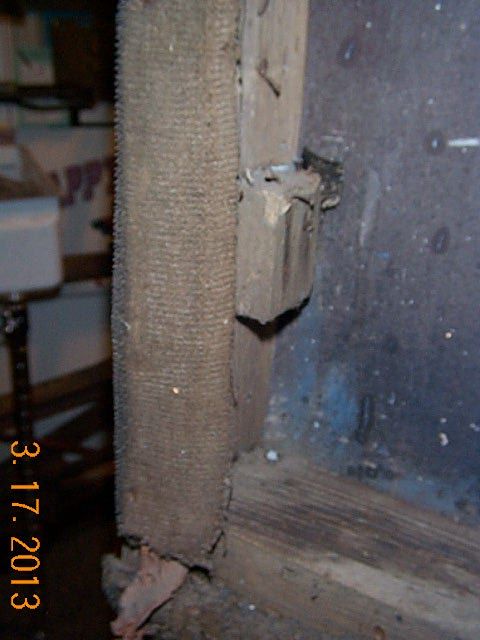
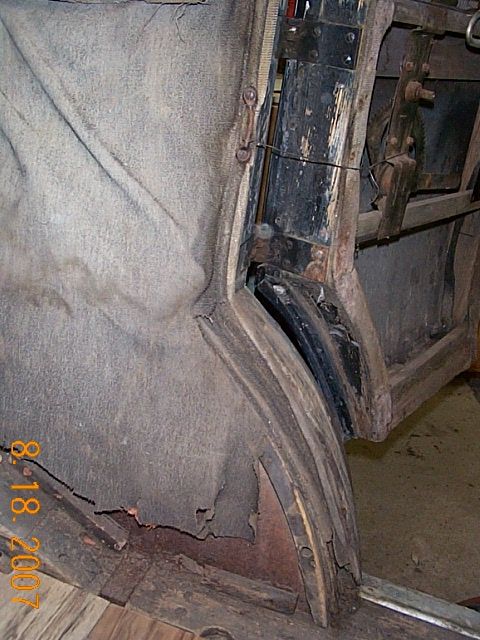
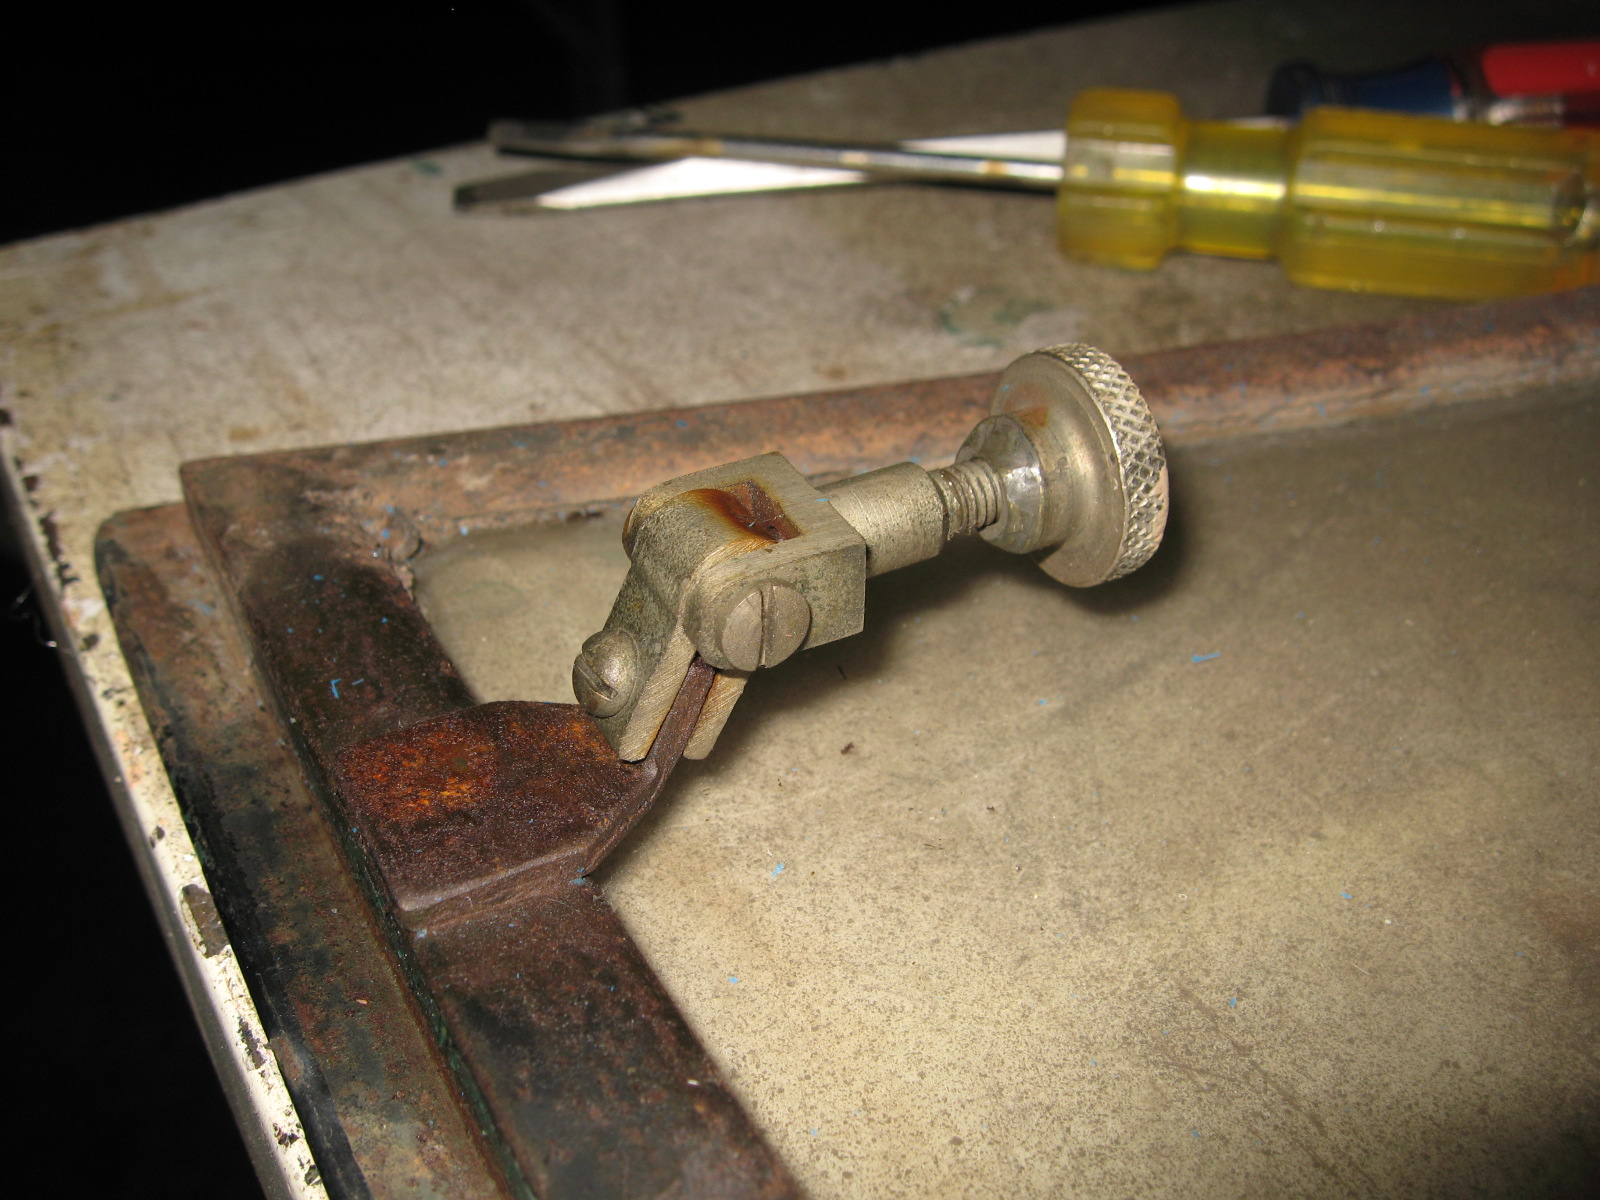
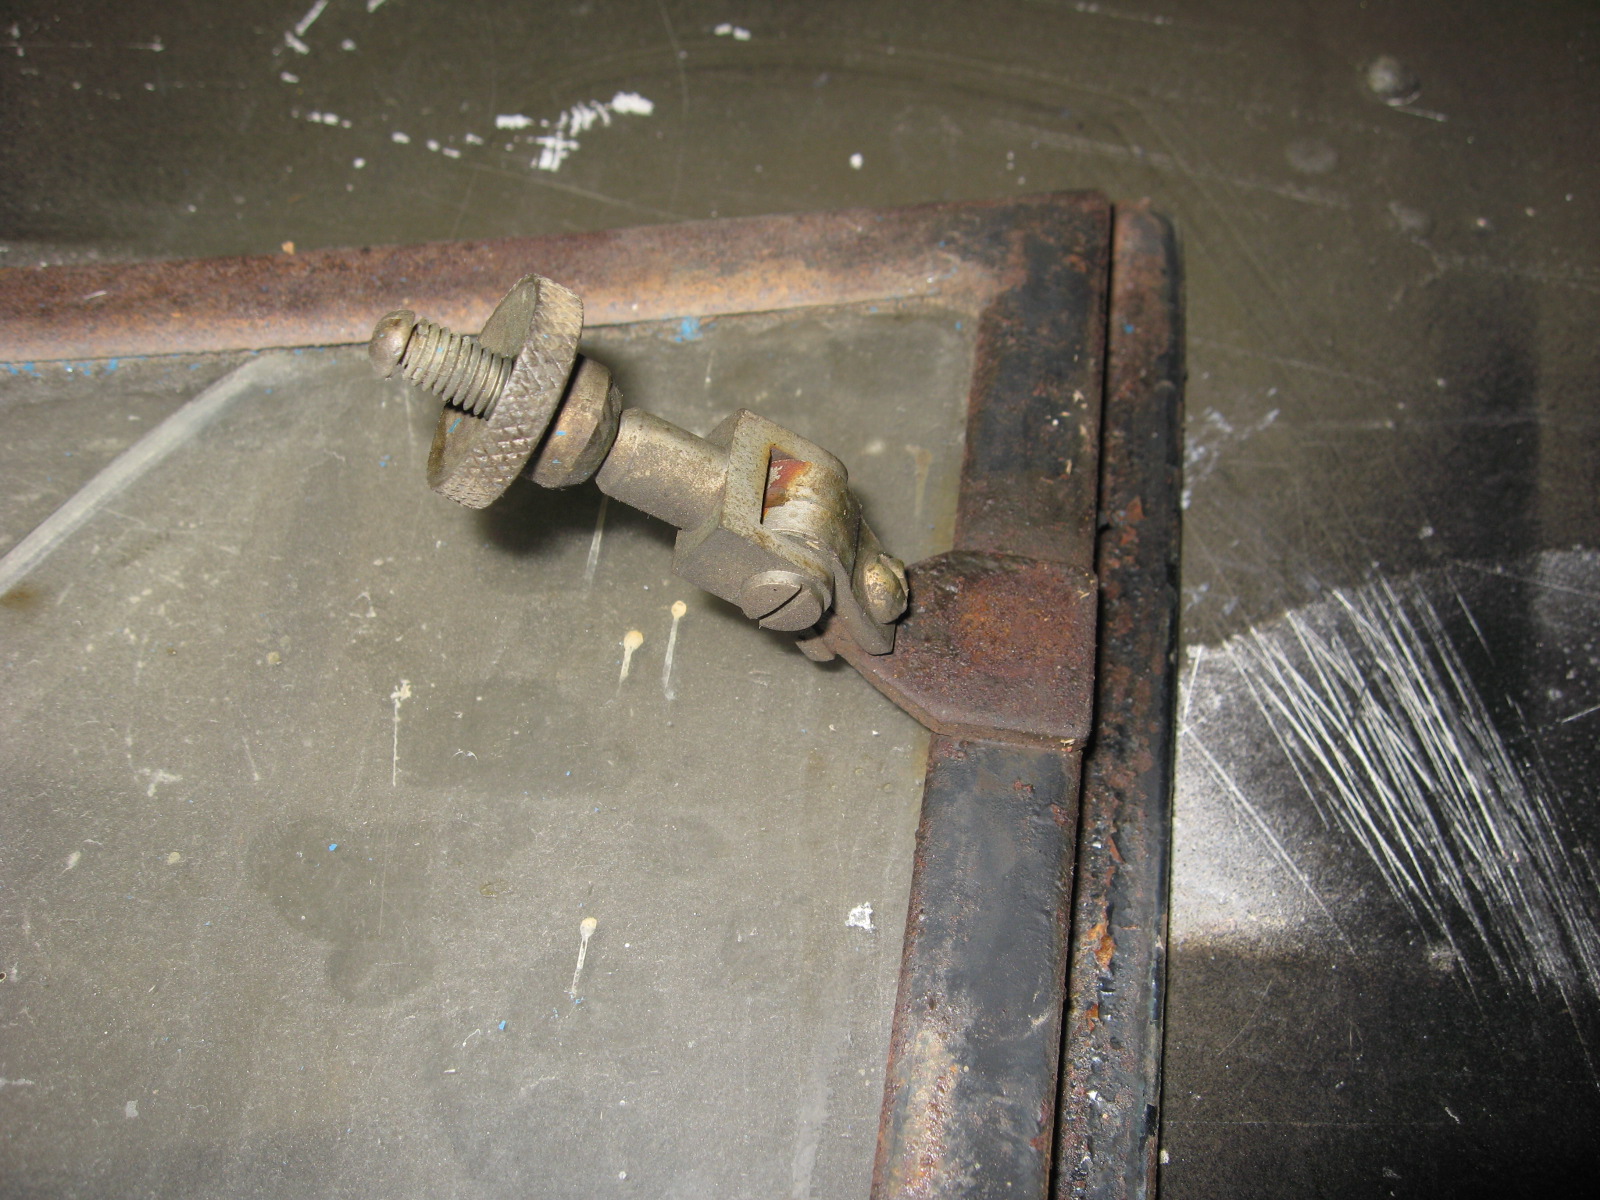
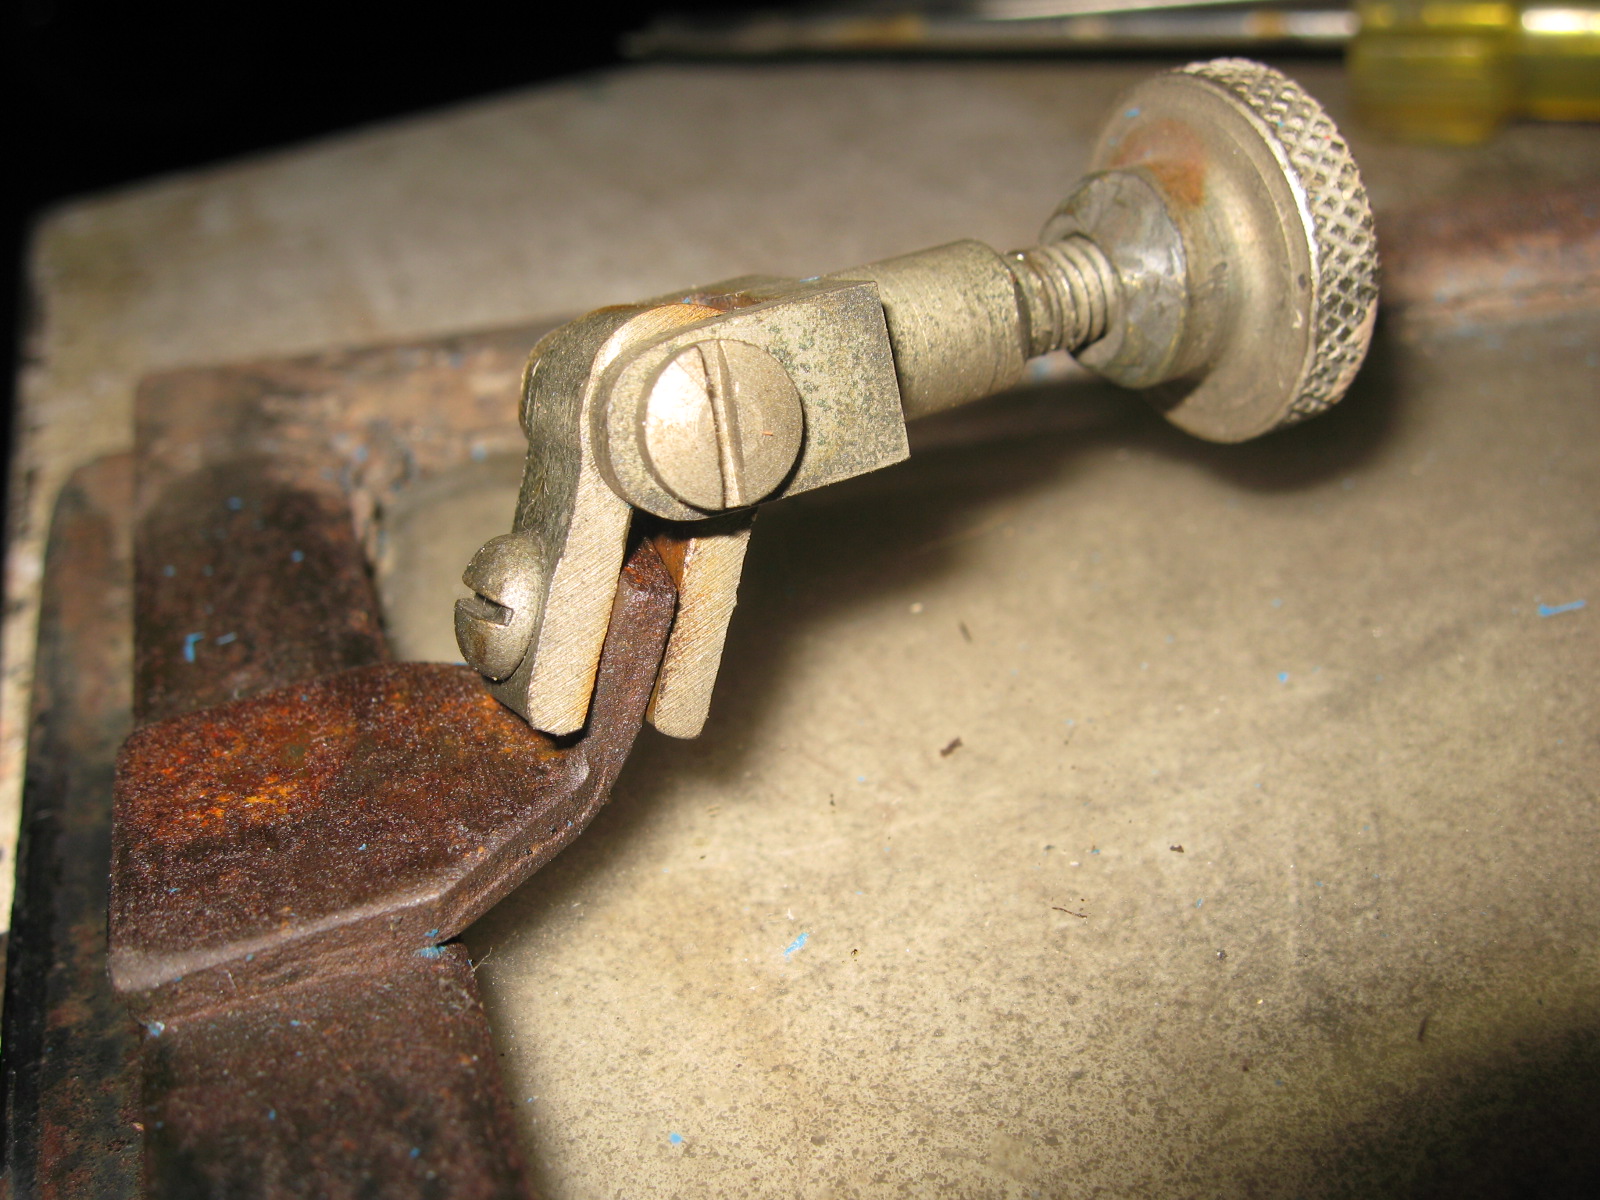
Cowl Vent and adjuster. There are 2 different styles. The mount was either cast or stamped.

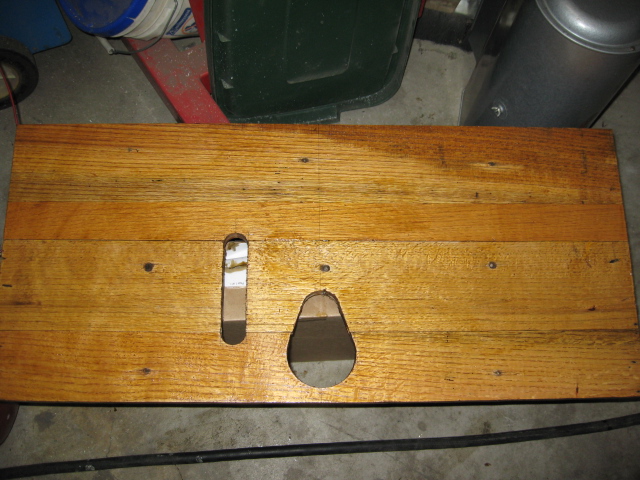
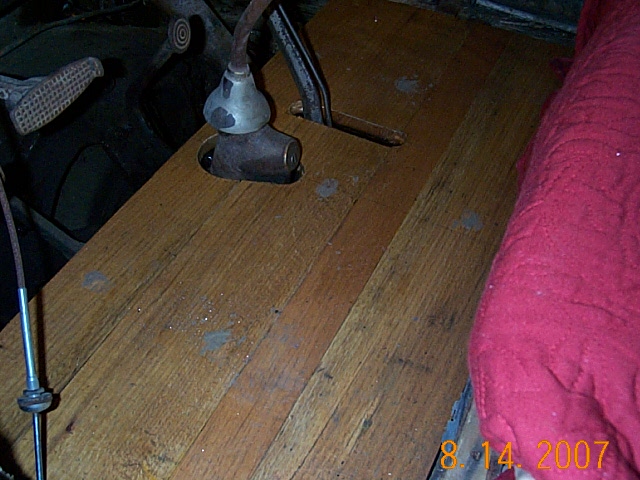
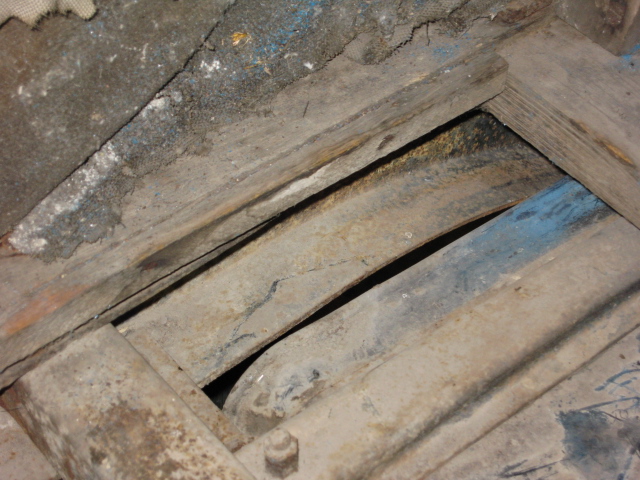
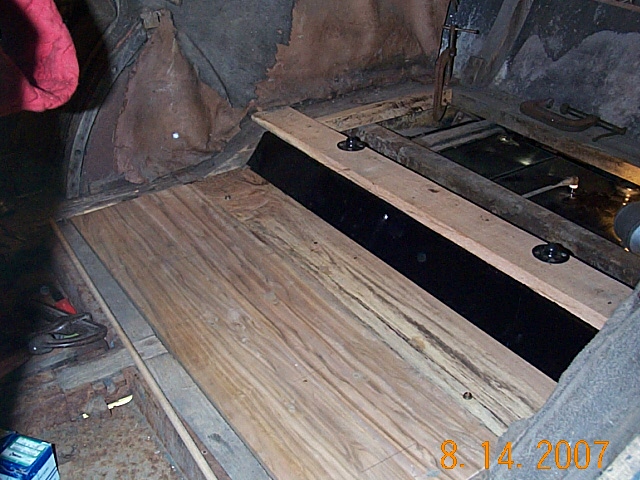
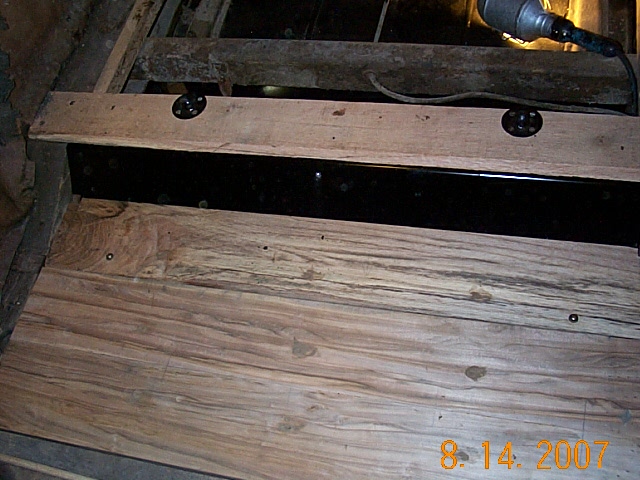
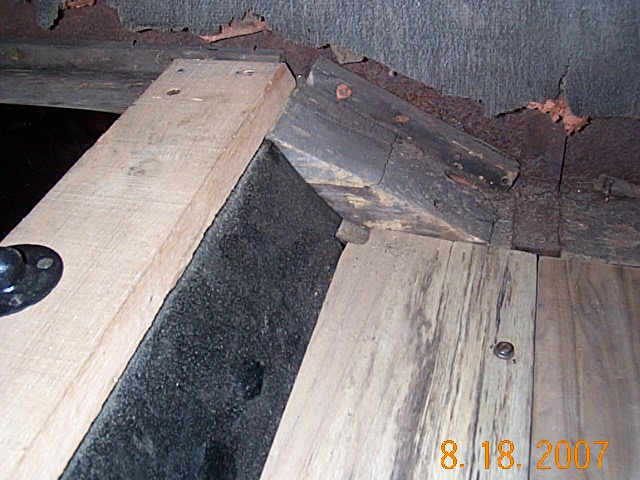
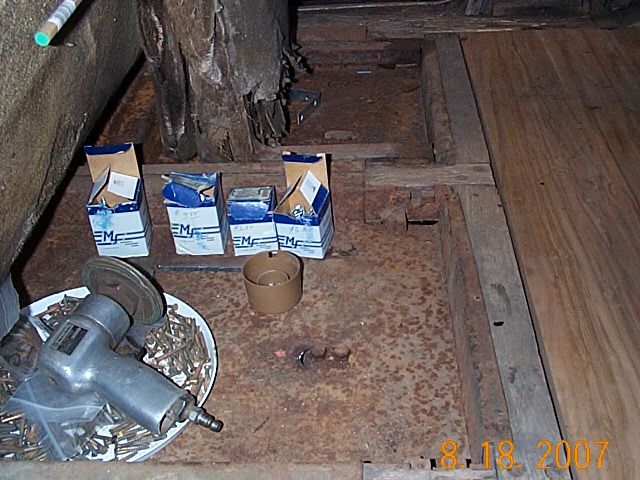
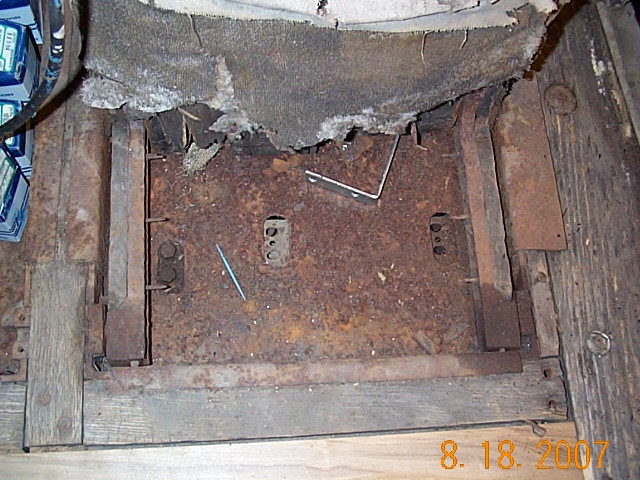
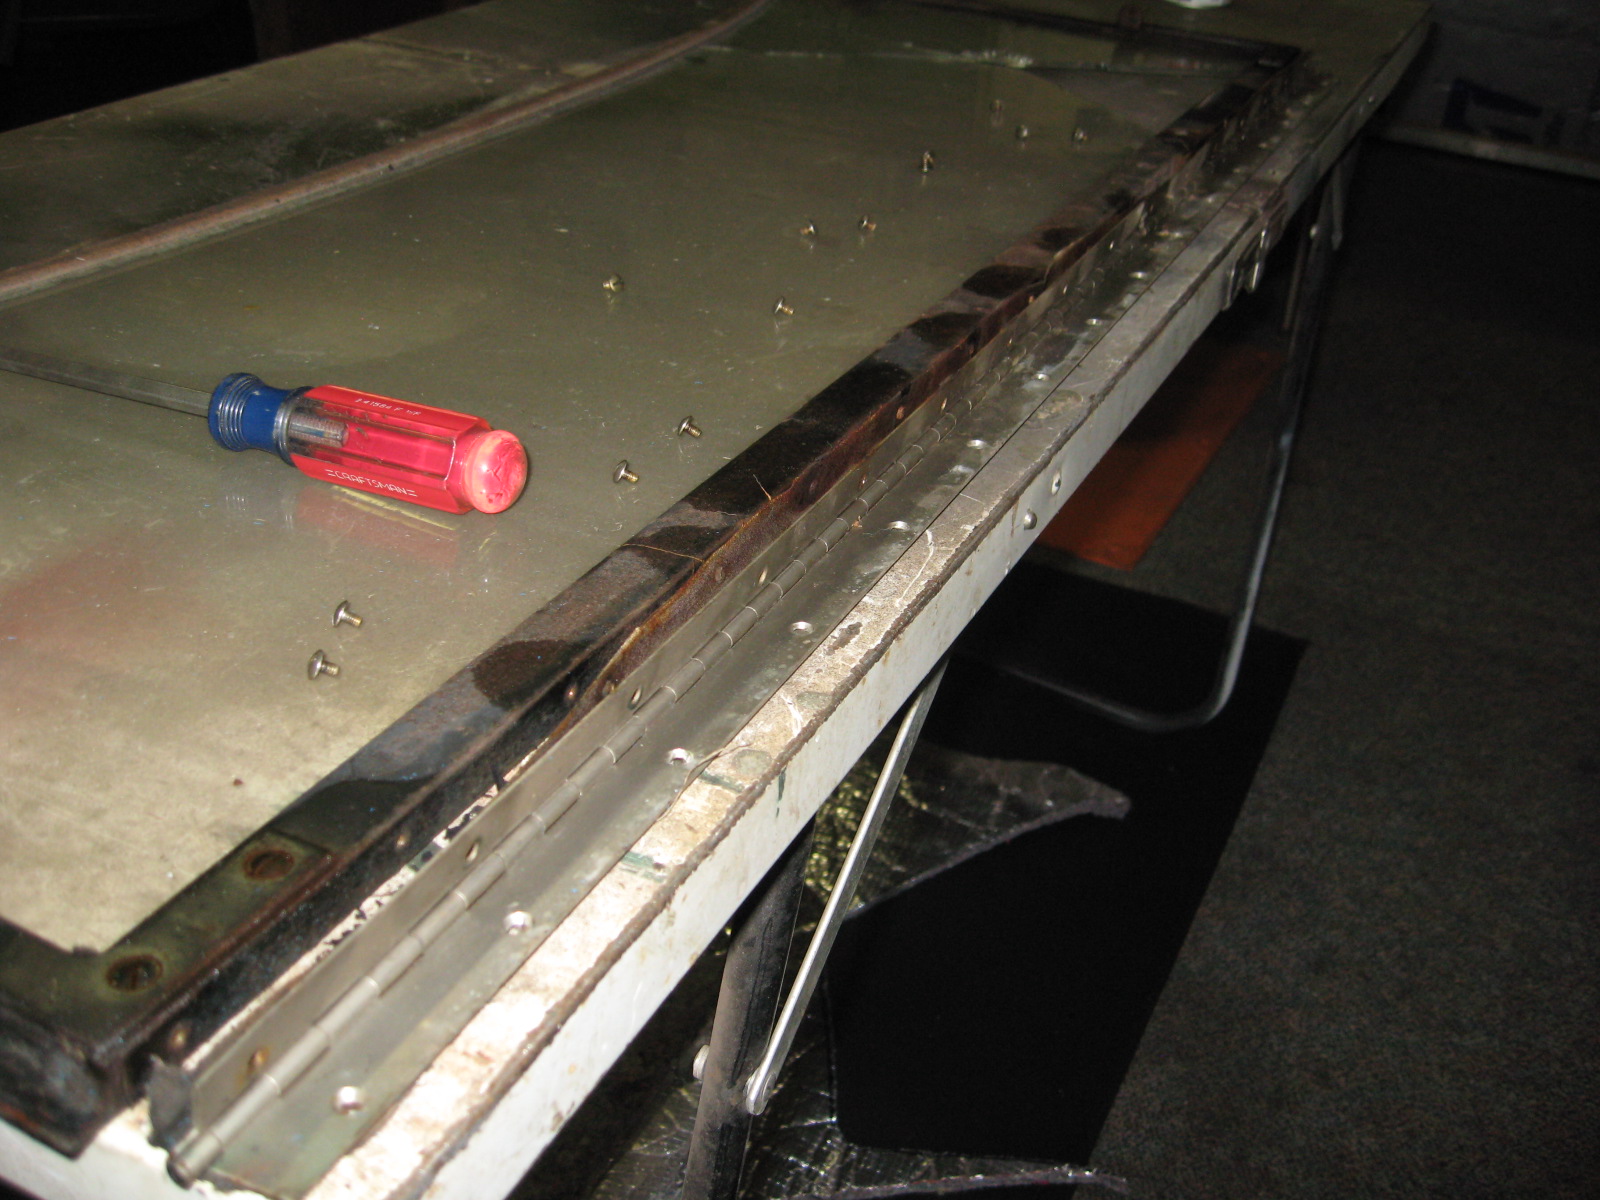
Floor Board. Made up a new set for the front.
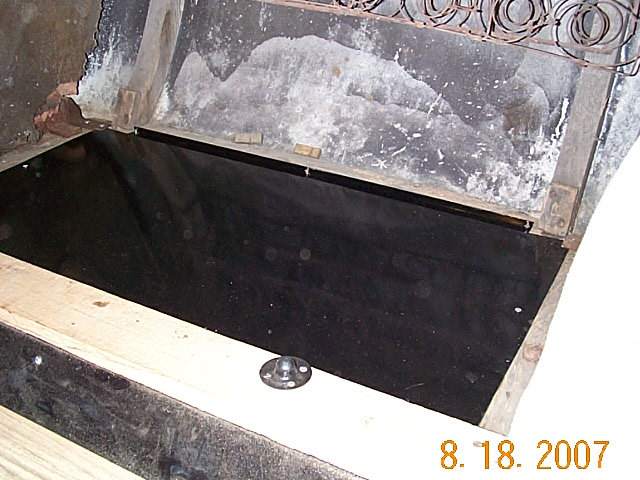
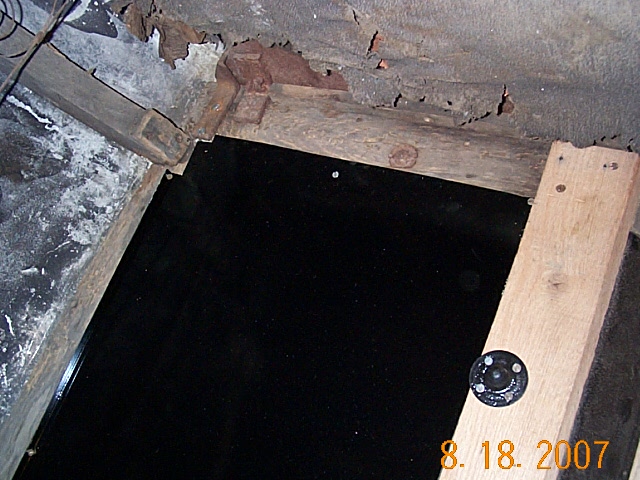
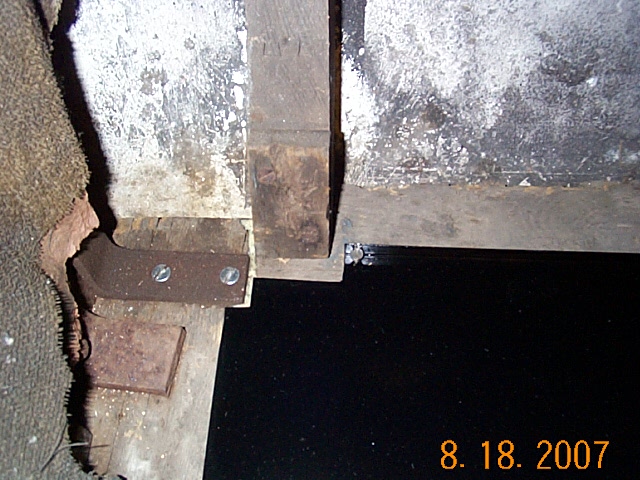
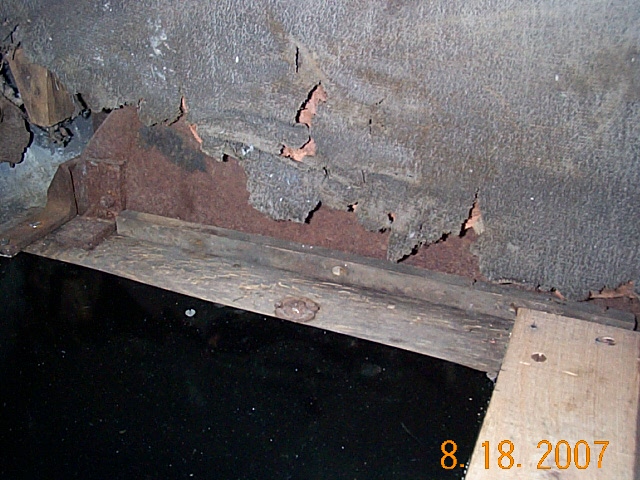
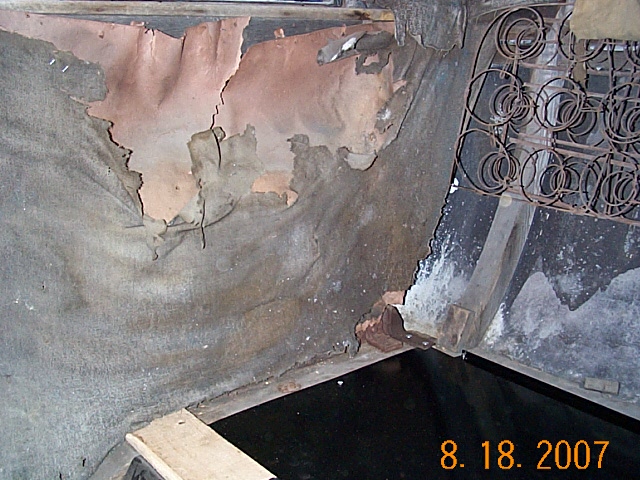
Back seat area. Getting ready to remove fuel tank and make new splash pan.

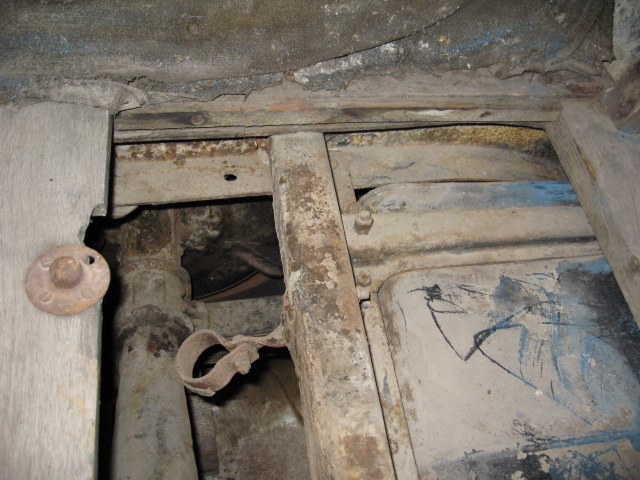
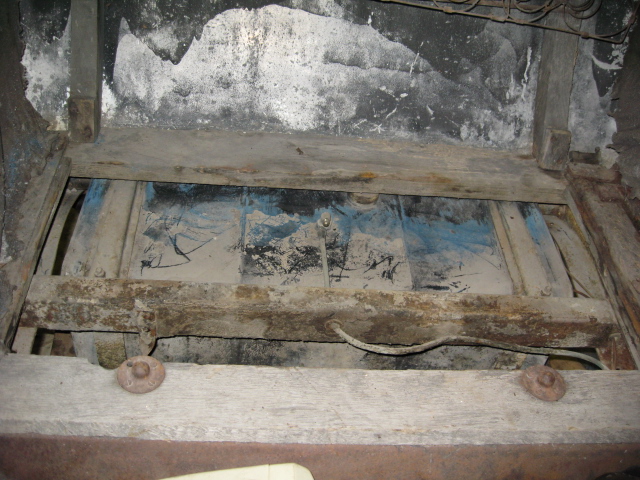
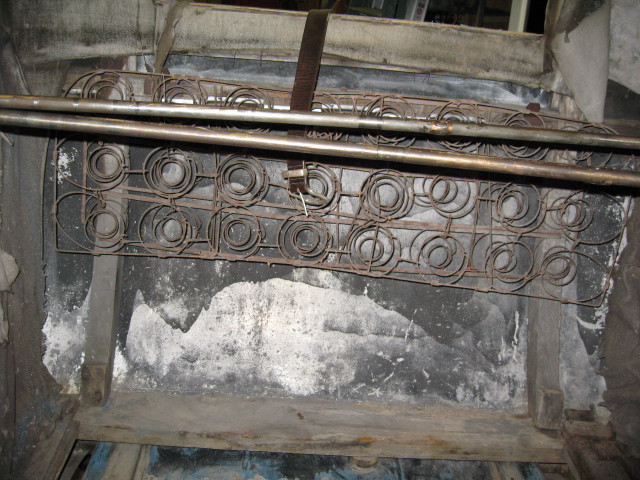
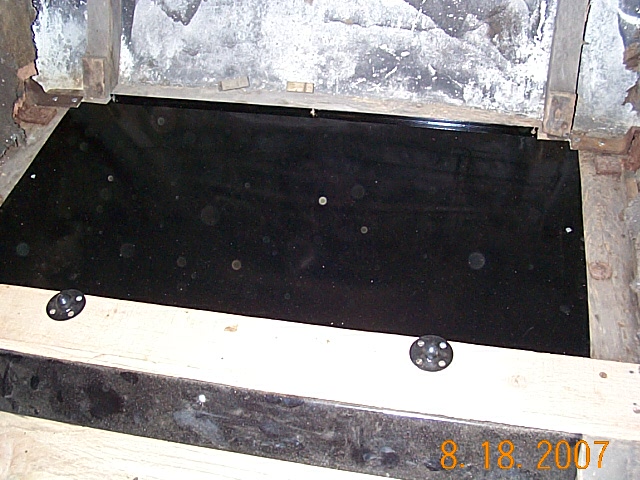
Back floor almost done. I do not have the rear bottom seat spring, (see my want list), so I need to know how the bottom board for the seat spring looks,
and what it sits on, the front pins obviously, but the back blocks make it sit at a down hill angle.

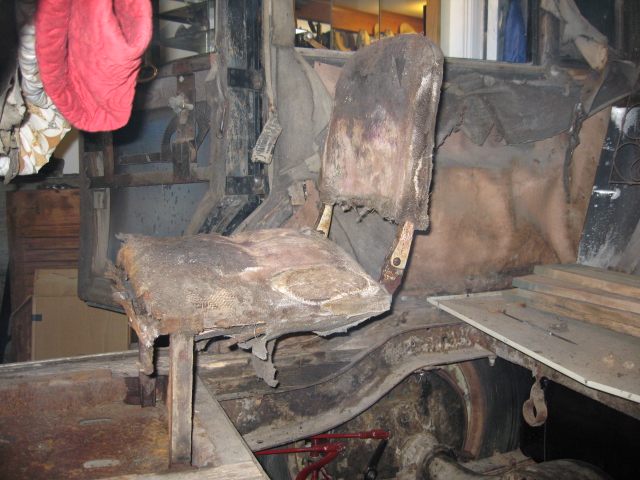
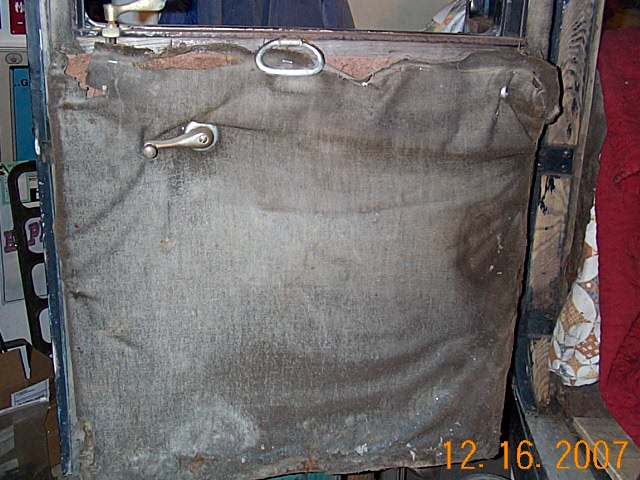
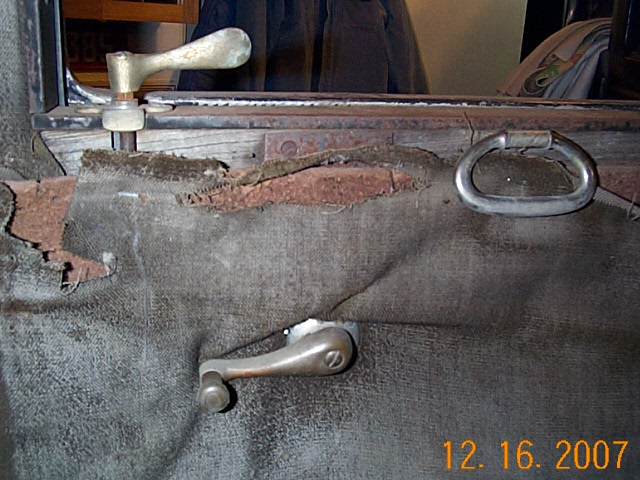
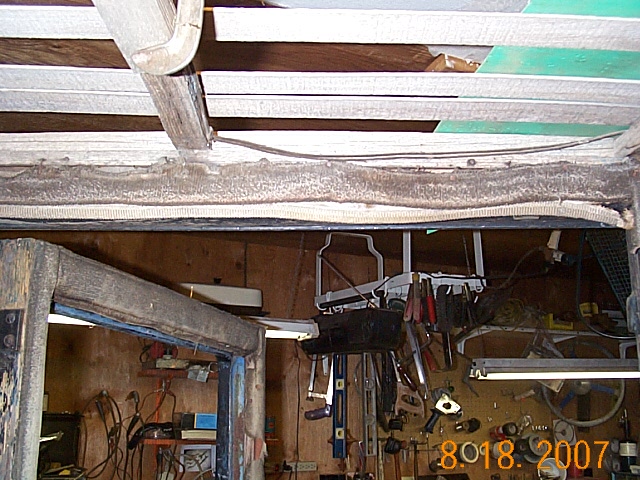
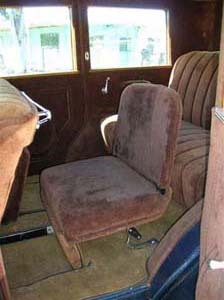
Interior shots so I can put it back together, after I tear apart. I try to make interiors as original as possible.


Front


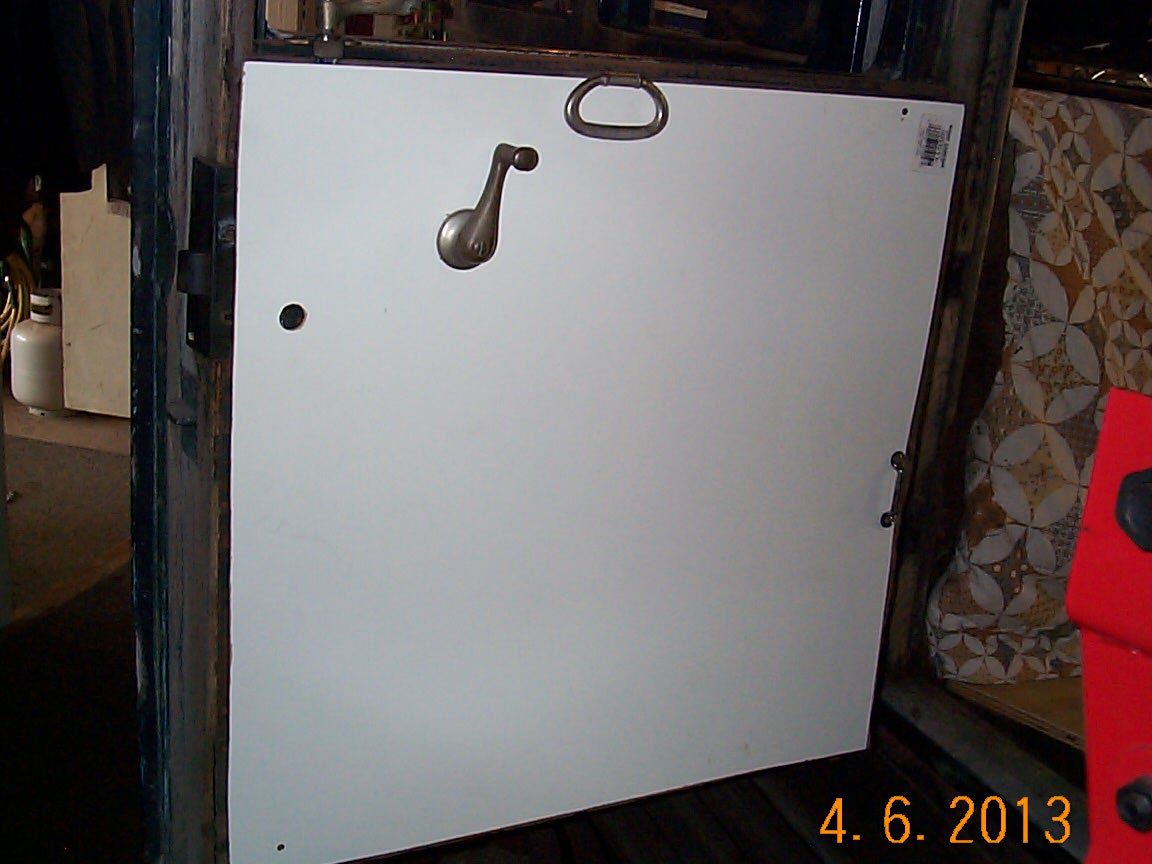
Building panels for front doors.

Rear


Top


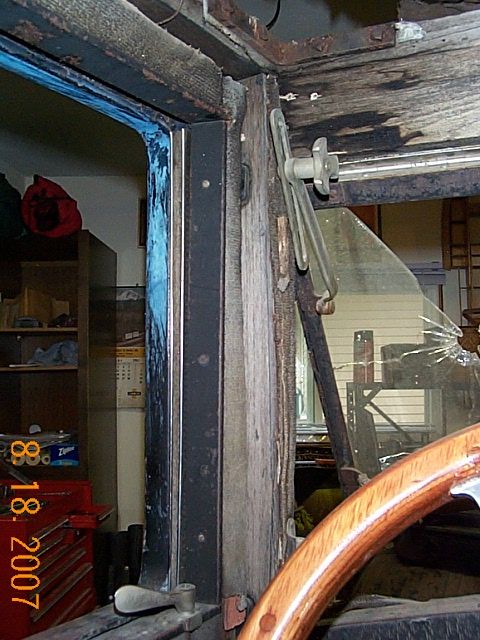

Rebuilding the Trico Wiper Motor.
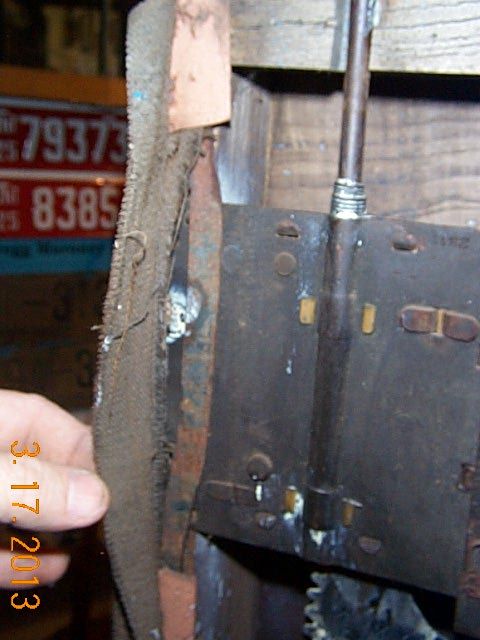
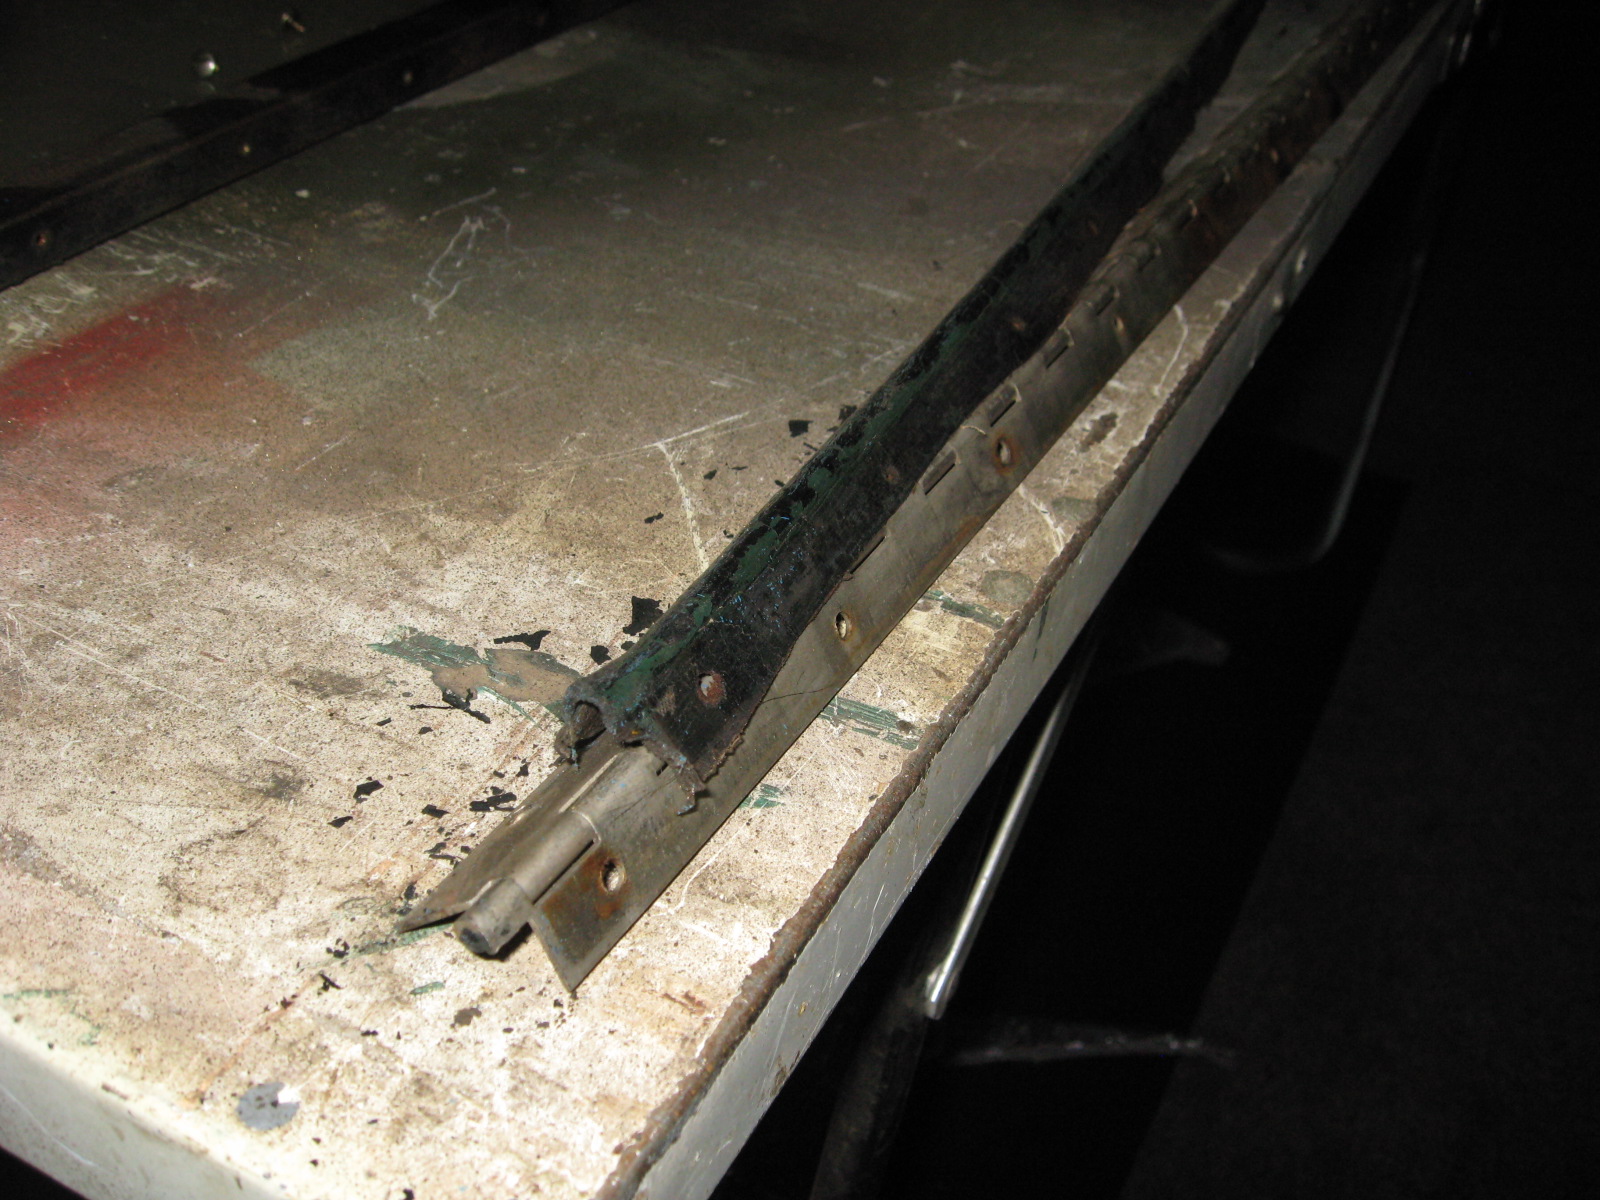
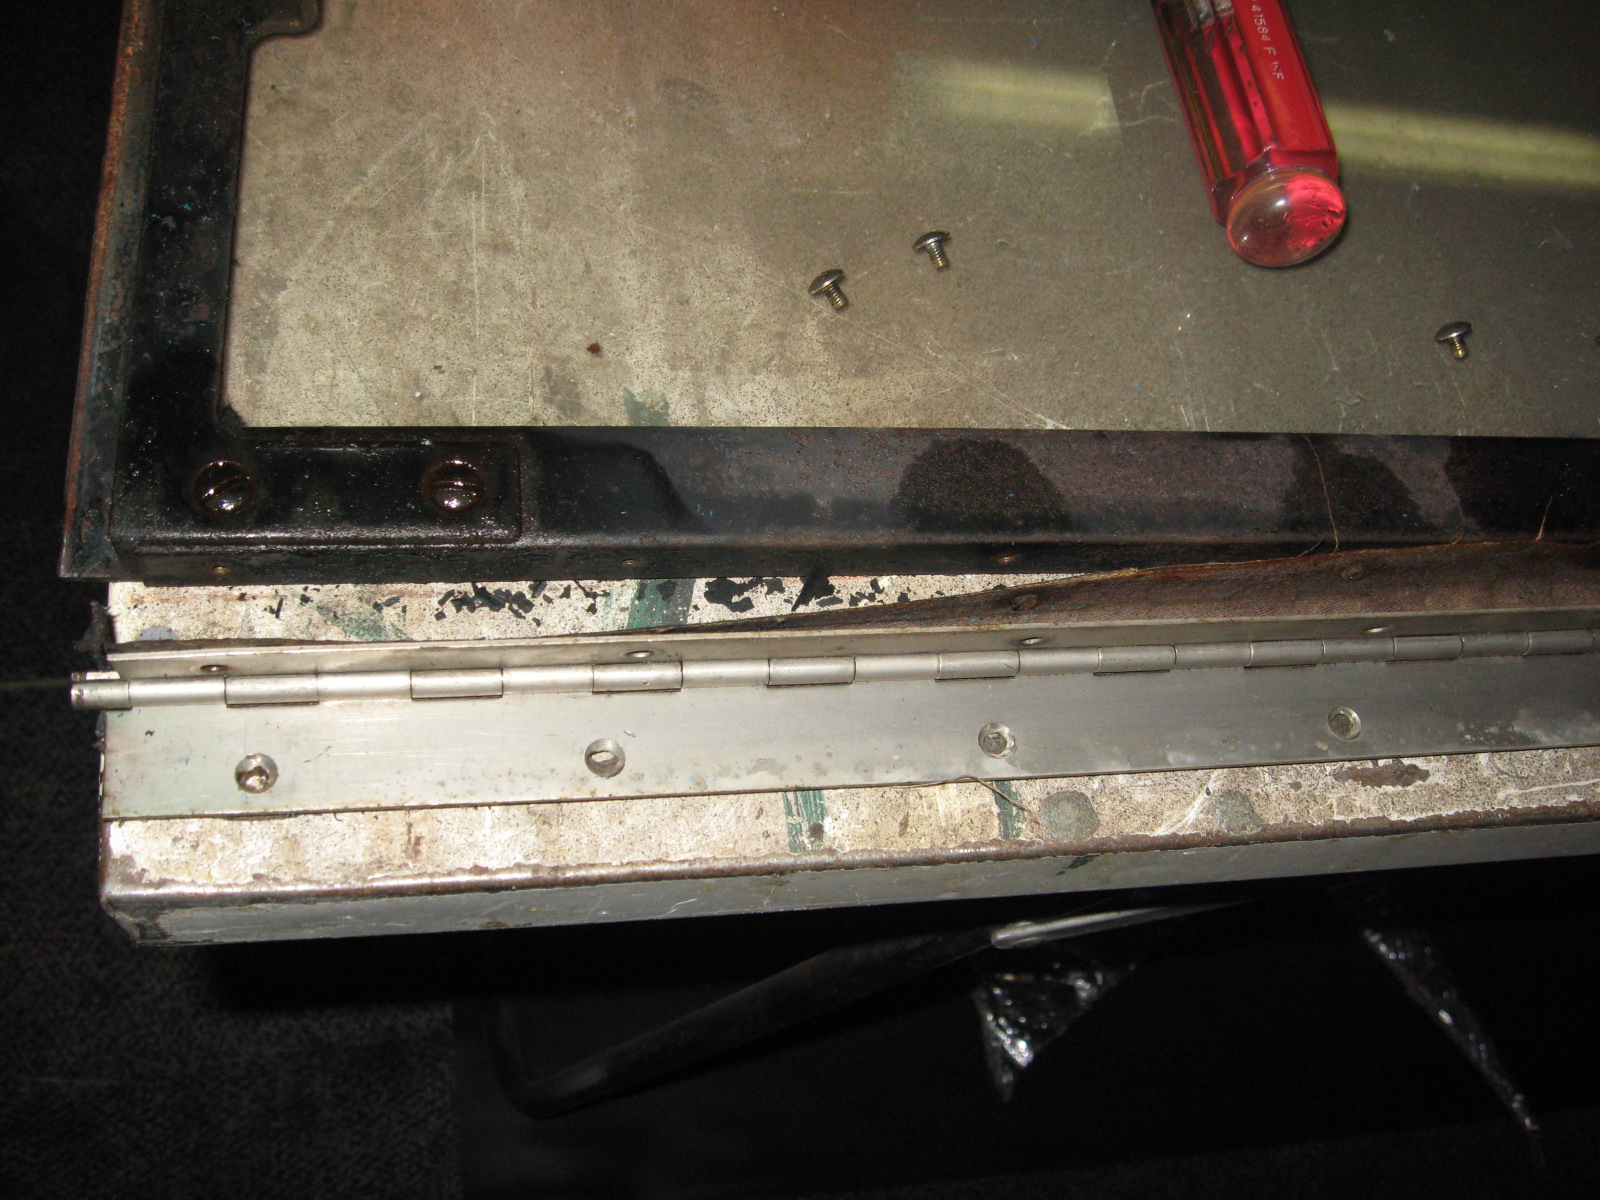
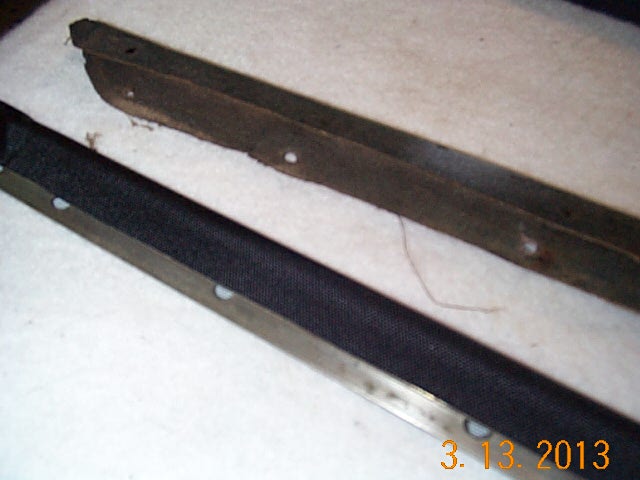
The windshield hinge is covered by material. I found some black nylon semi water proof at Joann's fabric.
I bought the final 7 yards on the sale rack for the rest of the interior.

Pictures of finished back seat pictures, I hope it looks this good.

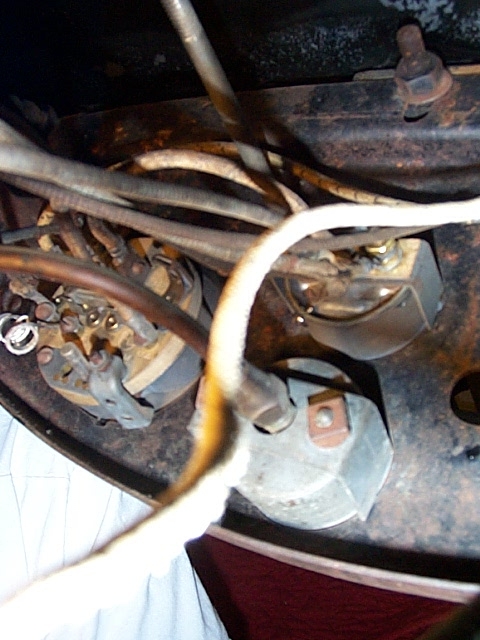
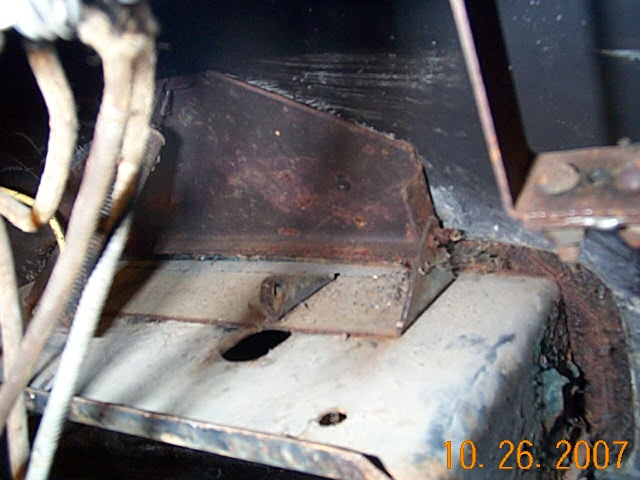
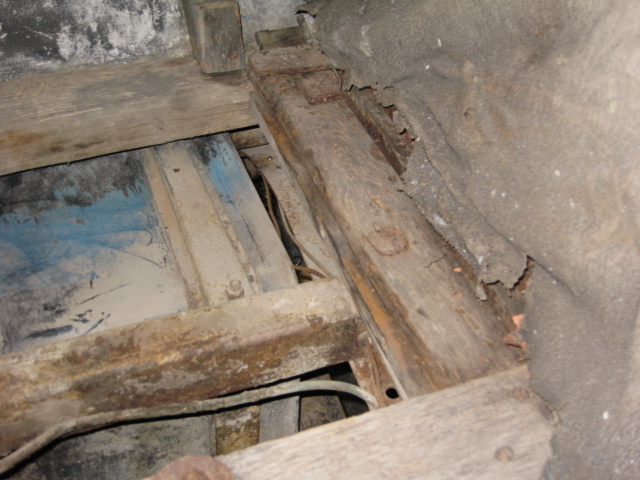
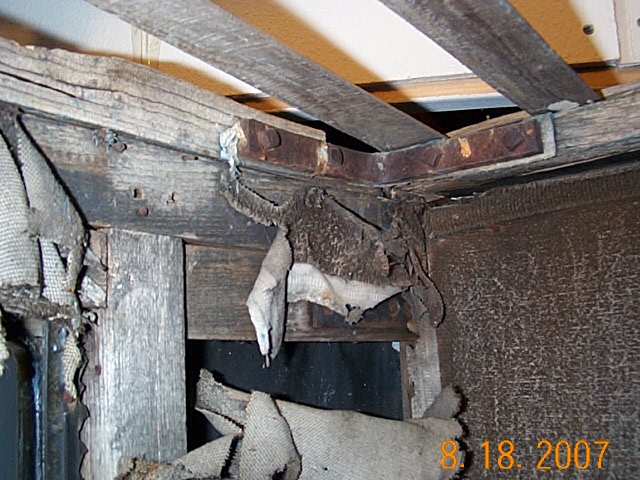
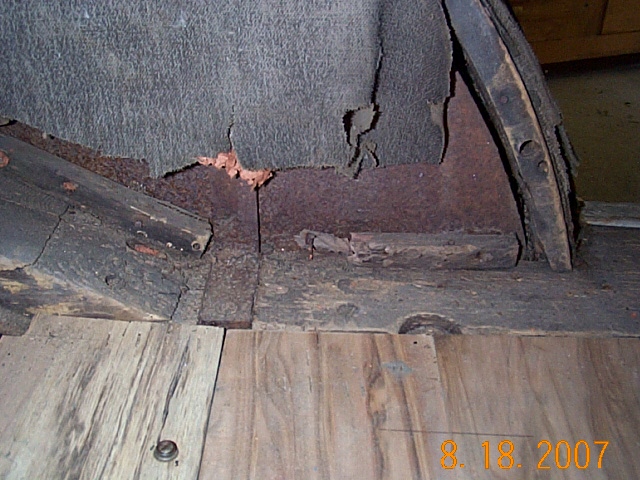
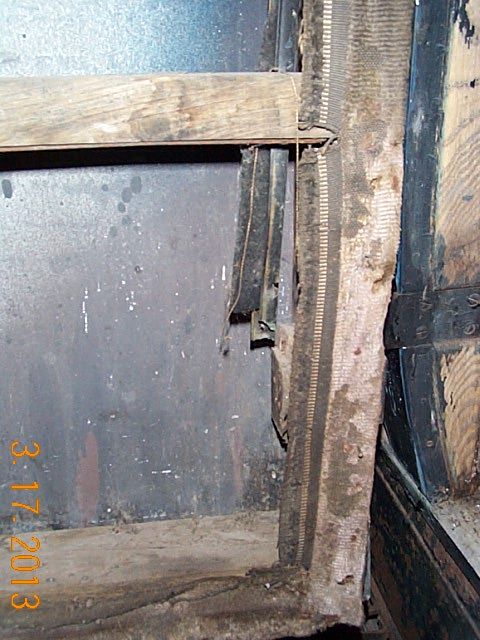
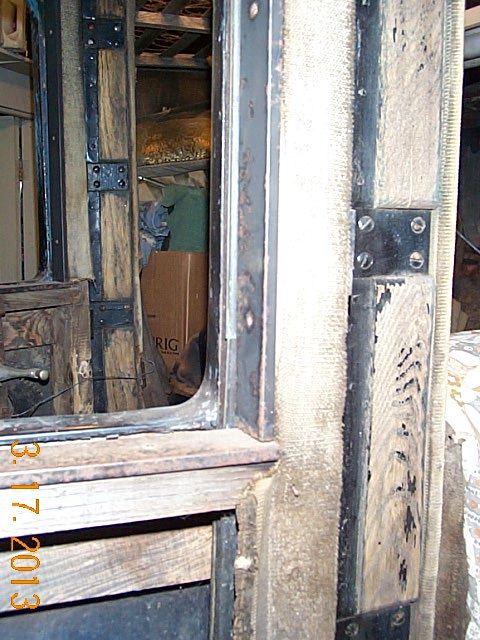
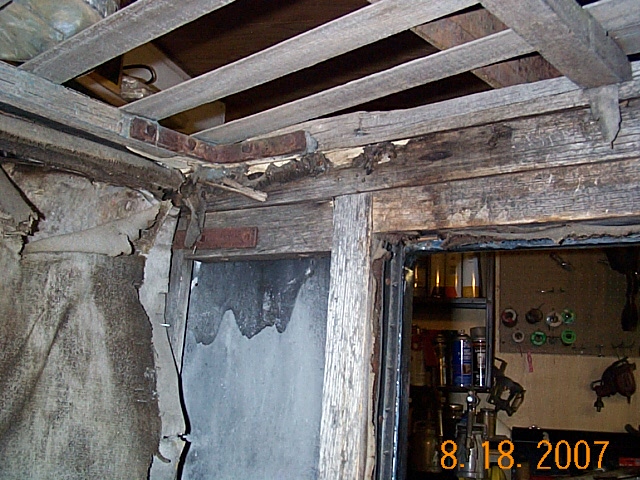
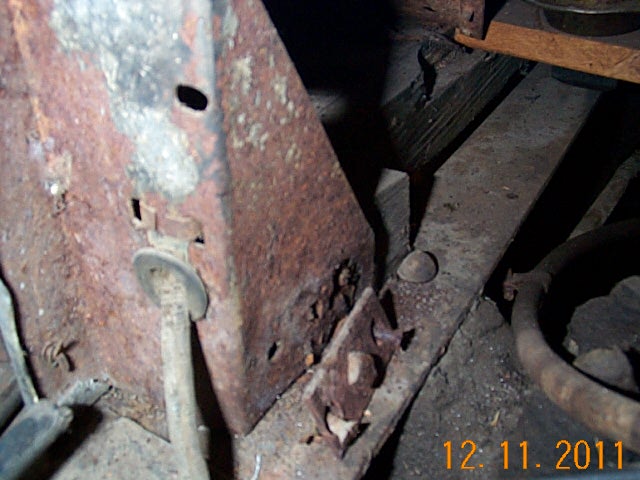
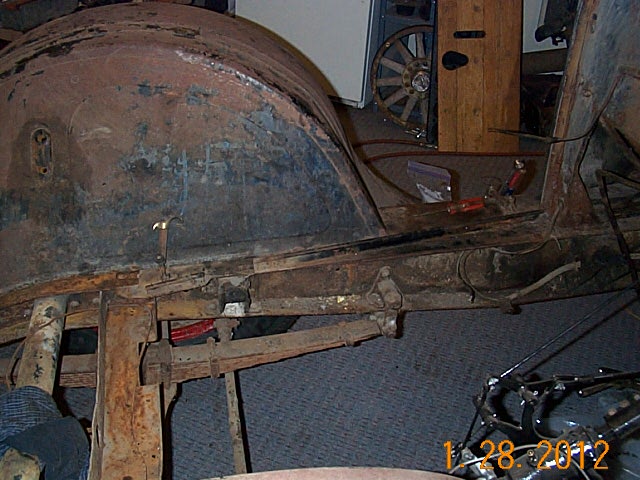
Firewall and frame rail before.
Left rear fender well. Trying out the original blue color


Back to Page 2.
Back to Page 1.